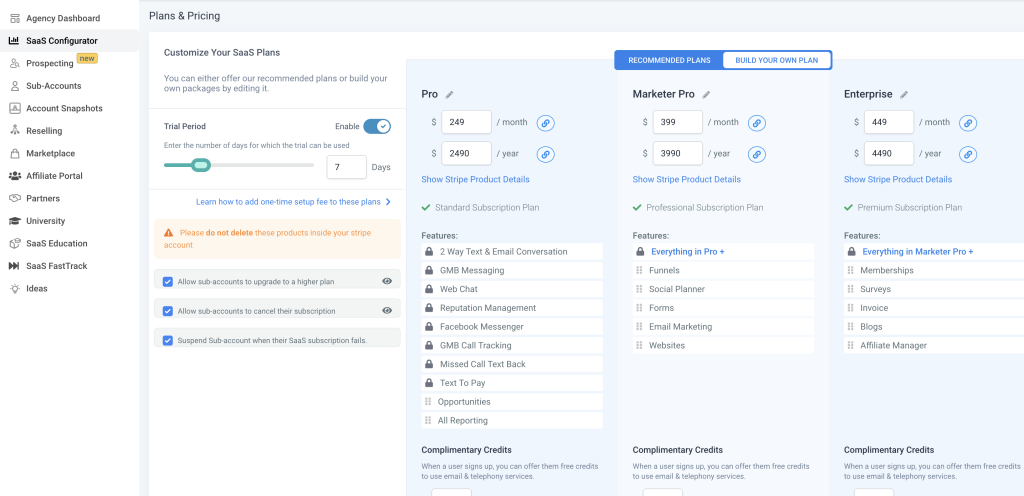
GoHighLevel is an exceptional CRM and marketing automation platform designed to accelerate business growth. Among its array of features, SaaS Mode stands out as a powerful capability, allowing you to resell GoHighLevel to your own clients. In this comprehensive blog post, we will guide you through the process of enabling SaaS Mode in GoHighLevel, ensuring you’re equipped to provide top-notch service to your clientele.

Prerequisites:
Before diving into the setup, make sure you have the following essentials ready:
1. A valid GoHighLevel account.
2. A domain name.
3. Reliable hosting provider.
4. An active Twilio account.
Step 1: Create a Sub-Account:
To initiate the process, navigate to the Account section in GoHighLevel and select “Sub-Accounts.” Locate and click the “Create Sub-Account” button.
Step 2: Enter Your Client’s Information:
In the Sub-Account creation interface, input your client’s relevant details. These include their name, email address, and domain name, which is essential for seamless integration.
Step 3: Select the SaaS Mode Option:
Under the “Plan Type” section, opt for the SaaS Mode option, which empowers you to offer GoHighLevel as a service to your clients.
Step 4: Click the Create Sub-Account Button:
After confirming the client’s information and selecting SaaS Mode, proceed by clicking the “Create Sub-Account” button, effectively establishing a dedicated account for your client.
Step 5: Set Up Twilio:
To fully leverage GoHighLevel’s SMS and phone features, it is crucial to set up Twilio integration. Access the Twilio settings in your GoHighLevel Account, and click the “Connect Twilio” button.
Step 6: Enter Your Twilio Information:
In the Twilio integration page, provide your Twilio account SID and authentication token to establish the necessary connection.
Step 7: Click the Connect Twilio Button:
Once the Twilio information is entered, finalize the integration by clicking the “Connect Twilio” button.
Step 8: Enable SaaS Mode:
Return to the Account section, select “Sub-Accounts,” and locate the client’s sub-account you created earlier. Click the “Manage” button associated with that sub-account.
Step 9: Click the Enable SaaS Mode Button:
Within the Sub-Account management page, locate and click the “Enable SaaS Mode” button, effectively activating the SaaS Mode for the respective client.
Step 10: Set Up Your Client’s Account:
With SaaS Mode enabled, you can proceed to set up your client’s account. Access the Account section and choose “Clients,” followed by clicking the “Create Client” button.
Step 11: Enter Your Client’s Information:
Within the Create Client interface, provide your client’s necessary details, including their name, email address, and domain name, ensuring a personalized and tailored experience.
Step 12: Select the SaaS Mode Option:
Under the “Plan Type” section, select the SaaS Mode option to align the client’s account with the chosen mode.
Step 13: Click the Create Client Button:
After validating the information and selecting SaaS Mode, finalize the setup by clicking the “Create Client” button, successfully establishing the client’s GoHighLevel account.
Step 14: Send Your Client Their Login Information:
Once the client’s account is created, navigate to the Account section, select “Clients,” and locate the client’s account. Click the “Send Login Information” button to share their login credentials securely.
Conclusion:
Congratulations! By following these step-by-step instructions, you have successfully enabled SaaS